Direct Indirect method for Building Thick Film Stencils for High Density Printing
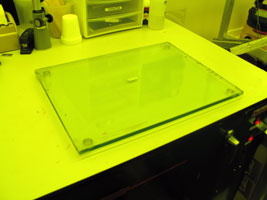
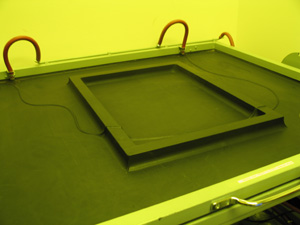
Glass buildup board so the frame doesn't touch the table. It doesn't need
to be glass.
Newsprint makes cleanup easier
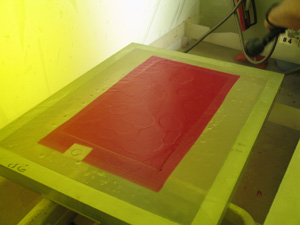
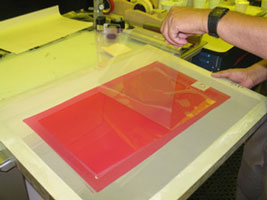
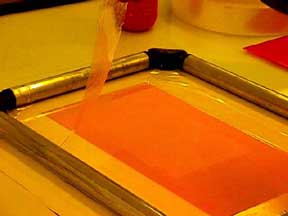
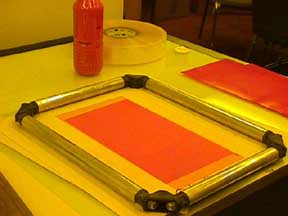
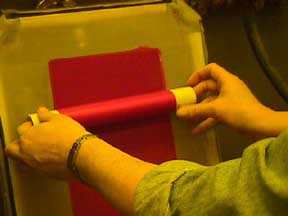
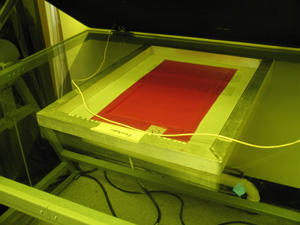
CDF/QT Thick Film, emulsion side up on the board
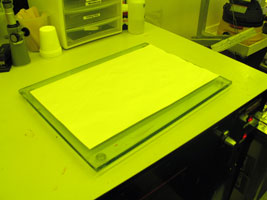
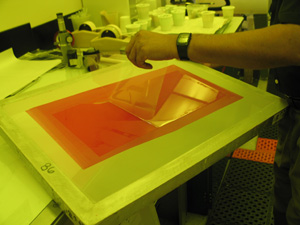
Position the screen. The buildup board assures contact of every mesh knuckle with the film.
Use masking tape at the edges of the film to reduce mess from over printing.

Masking tape mask in place.
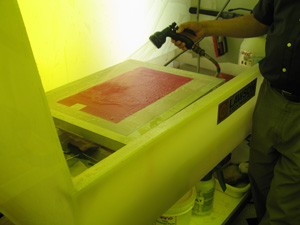
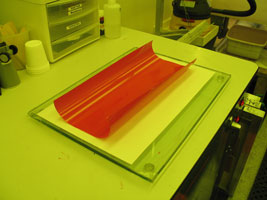
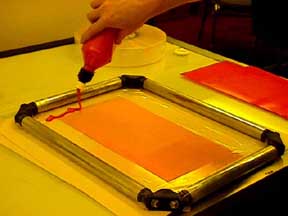
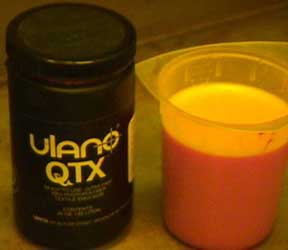
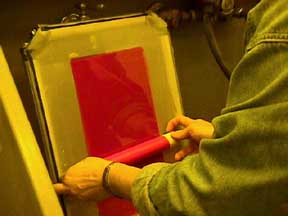
Squirt some Ulano QTX emulsion on the mesh
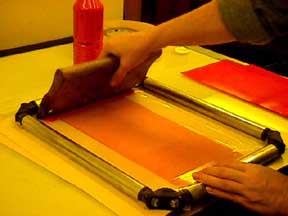
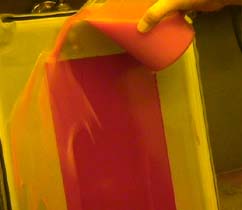
Three strokes to drive the emulsion through the mesh and re-wet the film
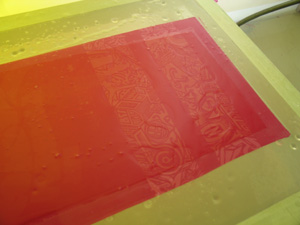
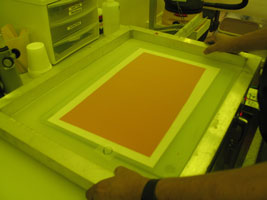
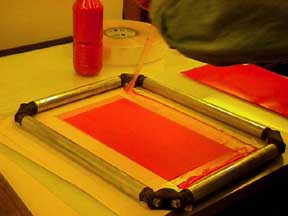
Remove the masking tape.
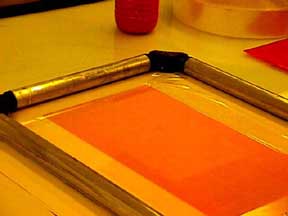
Mmmmm Perfect coating
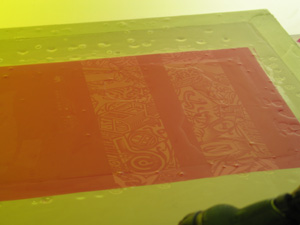
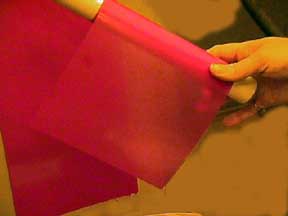
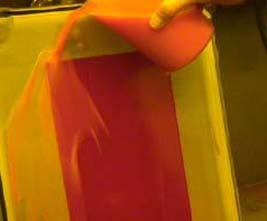
After drying, peel off the polyester backing sheet and you are ready to expose.
Building Thick Film Stencils for High Density Printing
Recently we've been getting a lot of calls requesting information on producing very thick stencils used to produce a special effect known as "high density printing." Although you will have to rely on your ink manufacturer for guidance regarding stencil thickness, specialized inks, and printing techniques, we can pass along a few general tips which may assist you in obtaining the result your customer is looking for.
There
are several approaches which can be used to create stencils ranging from
150 to 250 microns. One is to "cast" a direct emulsion of the
desired thickness. This can be done by coating a coarse screen with film
or emulsion, allowing it to dry, and then building a dam to contain additional
liquid emulsion which when dried will produce a thick stencil. The difficulty
is in controlling the thickness and the extremely long drying time (can
be as long as a few days) required.
A superior method is to use capillary film to achieve the desired stencil thickness. This method produces a stencil of controlled and repeatable thickness. It also allows numerous variations on thickness, required to achieve the variety of effects wanted.
SBQ sensitized capillary film is recommended due to speed of exposure. SBQ is transparent, unlike diazo sensitizers which harden by decomposing the diazo as the exposure moves through the layer. The thicker the stencil, the longer the exposure. SBQ sensitized capillary film exposes in 1/8 the speed of comparable diazo films.
Laminating
Ulano manufactures SBQ films suitable for laminating to produce thick stencils.
They are: CDF/QT-30; a 30 micron film, CDF/QT-50; a 50 micron film, and
new CDF/QT-90; a 90 micron film. These films can be laminated in limitless
combinations to achieve the required result.
There are several techniques used to produce thick stencils. The method Ulano recommends uses the direct/indirect method for adhering the first sheet of film. This method is preferred because it keeps the full thickness of the capillary film outside the structure of the mesh and encapsulates the mesh, resulting in a stencil with the durability of a direct emulsion stencil, plus the smooth thick stencil of capillary film. Using the traditional wet process results in the film penetrating approximately 2/3 of the mesh thickness. Additional applications of CDF/QT film are applied using CDF/QT coating solution to create the bond.
SBQ sensitized capillary film is recommended due to speed of exposure. SBQ is transparent, unlike diazo sensitizers which harden by decomposing the diazo as the exposure moves through the layer. The thicker the stencil, the longer the exposure. SBQ sensitized capillary film exposes in 1/8 the speed of comparable diazo films.
Ulano manufactures three SBQ films suitable for laminating to produce thick stencils. They are: CDF/QT-30; a 30 micron film, CDF/QT-50; a 50 micron film, and new CDF/QT-90; a 90 micron film. These films can be laminated in limitless combinations to achieve the required result.
There are various techniques employed to produce thick stencils. The method Ulano recommends employs the direct/indirect method for adhering the first sheet of film. This method is preferred because it keeps the full thickness of the capillary film outside the structure of the mesh and encapsulates the mesh, resulting in stencil with the durability of a direct emulsion stencil. (Using the traditional wet process results in the film penetrating approximately 2/3 of the fabric thickness.) Additional applications of CDF/QT film are applied using CDF/QT coating solution to create the bond.
1) We applied 3 sheets of 90 micron CDF/QT-90 to 140 mesh (91 microns thick) using the direct/indirect process for the first application and CDF/QT coating solution for the additional two sheets. This method resulted in a stencil which was 249 microns proud of the mesh.
2) We applied 2 sheets of 90 micron CDF/QT-90 and one sheet of 50 micron CDF/QT-50 to a 110 mesh (115 microns) using the direct/indirect method for the first application and CDF/QT coating solution for the two additional sheets. This method resulted in a stencil which was 227 microns proud of the mesh.
The following step-by-step procedure is recommended to produce high quality, consistent, thick stencils.
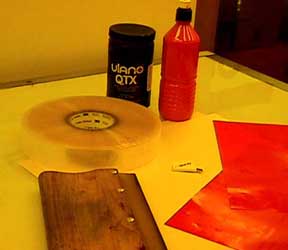 Supply
and tool list
Supply
and tool list
Pre-stretched Screen
Newsprint
Ulano CDF/QT-90 Direct-Film cut to size
Ulano CDF/QT-50 Direct-Film cut to size
Ulano QTX Direct Emulsion
2" Mylar Masking Tape
Printing Squeegee (slightly wider than the film width)
1 1/2" Diameter Rigid Hollow Tube (slightly wider than the film width)
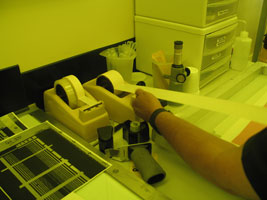
 1)
Place one sheet of newsprint on a clean, flat, surface. Position one sheet
of CDF/QT film, emulsion side up, on the newsprint. Place the screen over
the film, substrate side to the film. Apply tape around the perimeter of
the screen sealing up to the edge of the film.
1)
Place one sheet of newsprint on a clean, flat, surface. Position one sheet
of CDF/QT film, emulsion side up, on the newsprint. Place the screen over
the film, substrate side to the film. Apply tape around the perimeter of
the screen sealing up to the edge of the film.
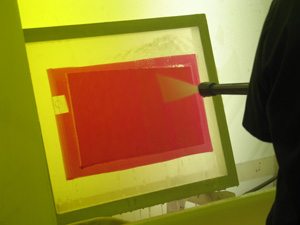
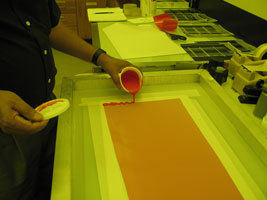
2) Apply a bead of QTX Direct Emulsion across the top of the screen. (It is our experience that this can be a very messy process. Dispense the QTX from a squeeze bottle to avoid the mess.)
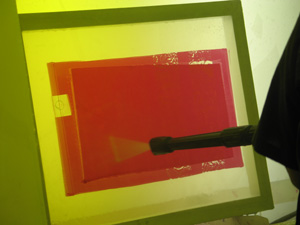
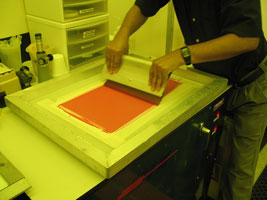
3) Draw the emulsion across the film with one "print-like" stroke.
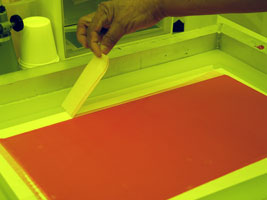
4) Immediately remove the Mylar masking tape to remove the excess emulsion. The film is now adhered to the screen.
5) Dry the screen until the backing sheet on the CDF/QT-90 releases easily.
Laminating film on film
While waiting for the screen to dry, prepare CDF/QT coating solution. Mix 1 part QTX Direct Emulsion with 15 parts water. Allow solution to de-bubble before use.
6) Prepare the second sheet of CDF/QT-90. Wind it, emulsion side out, onto the hollow tube. (A tiny drop of water on the lead edge of the film (polyester side) will keep the film from unrolling.)
7) Mask the open area, at the top of the screen, with Mylar tape to prevent the CDF/QT coating solution from softening the QTX emulsion which was used to adhere the film.
Cascade the CDF/QT coating solution down the surface of the film until it is fully wetted.
9) Placing fingers inside the core of the rigid tube, touch the lead edge of the film to the previously adhered film. Roll the film up, to secure the lead edge, and then proceed to roll the film down.
Firm pressure must be applied as the film is rolled down. Use the core to force out any air or water bubbles. Wipe the back and perimeter of the screen, remove the Mylar tape, and dry the screen.
10) Repeat the wet adhering process (wet, roll down, dry, peel) until desired stencil thickness is achieved. Additional applications of CDF/QT-90, CDF/QT-50, or CDF/QT-30 can be used to build unlimited stencil thickness combinations.
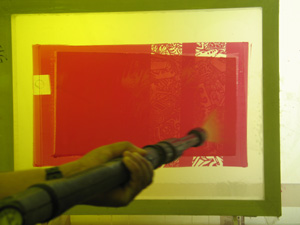
11) Once the desired thickness has been achieved, the stencil is ready for exposure. Due to the variety of stencil/mesh combinations, an exposure test must be performed. A Step Wedge Test, using a film-positive with detail comparable to the degree of detail of image to be produced, is the most practical method. (Consult Ulano CDF and Direct Emulsion Technical Data Books for information on how to design a relevant exposure test.) Experience tells us that erring on the side of over-exposure is much more gratifying than under-exposure. (All of your beautiful stencil making goes down the drain.)
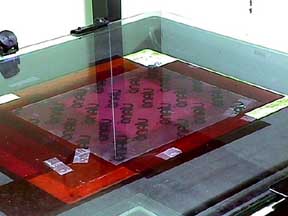

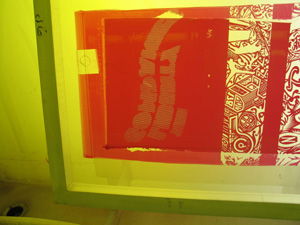
12) Expose the stencil and develop. Wash the exposed screen with a gentle spray of street pressure water or soak the screen in a tray to accelerate the process. A fully exposed stencil will be robust enough to withstand washing and soaking. (Keep in mind that resolution is relative to stencil thickness. You will not resolve a line finer than the overall thickness of the fabric and stencil-which in this case is considerable.)
13) Examine the finished stencil. Ensure that there is no evidence of residual scum. If scum is present, wash the stencil thoroughly before exposing the screen to white light. Dry the screen thoroughly.

14) Show off your stencil making skill, block-out with QTX Direct Emulsion, dry, and print.


Exposure
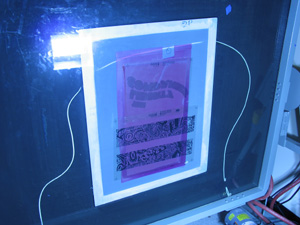
Washout